-
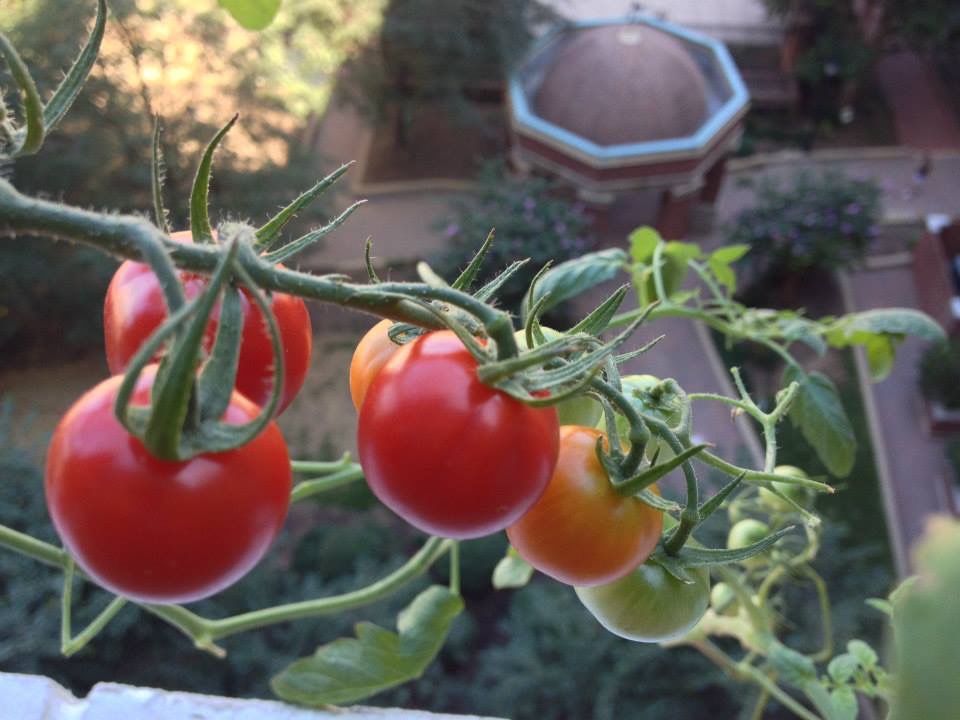
I cook as a hobby, and I maintain this blog primarily to keep track of recipes that my family has enjoyed over the years. I started blogging back in 2015, in response to requests from friends for recipes they had seen me post on Facebook (but that I couldn’t easily catalog). My original blog was on another platform that became less user-friendly over time. I migrated my blog to WordPress earlier this year, and I’ve spent more time than expected reformatting the migrated posts.
This blog is and always will be a work in progress. For example, I currently provide Tags for posts, but I have not coded for Categories. I also generally try to share the recipes themselves in my posts, but in cases where the recipe is not available online, I try to identify the source (e.g., the cookbook title and author) as needed. In some cases, such as where a family has shared their recipe with me but hasn’t authorized me to share it widely, I post a photo of the dish with that proviso.
I recently added a Search widget to this blog. On the desktop version, the Search bar appears prominently on the left hand side. But for some reason, it is hidden on the mobile app. If you’re on your phone, tap on the SHOW tab at the top left of the home page. That will reveal another screen with the Search bar.
I hope you enjoy exploring my blog and find some recipes to try.
-
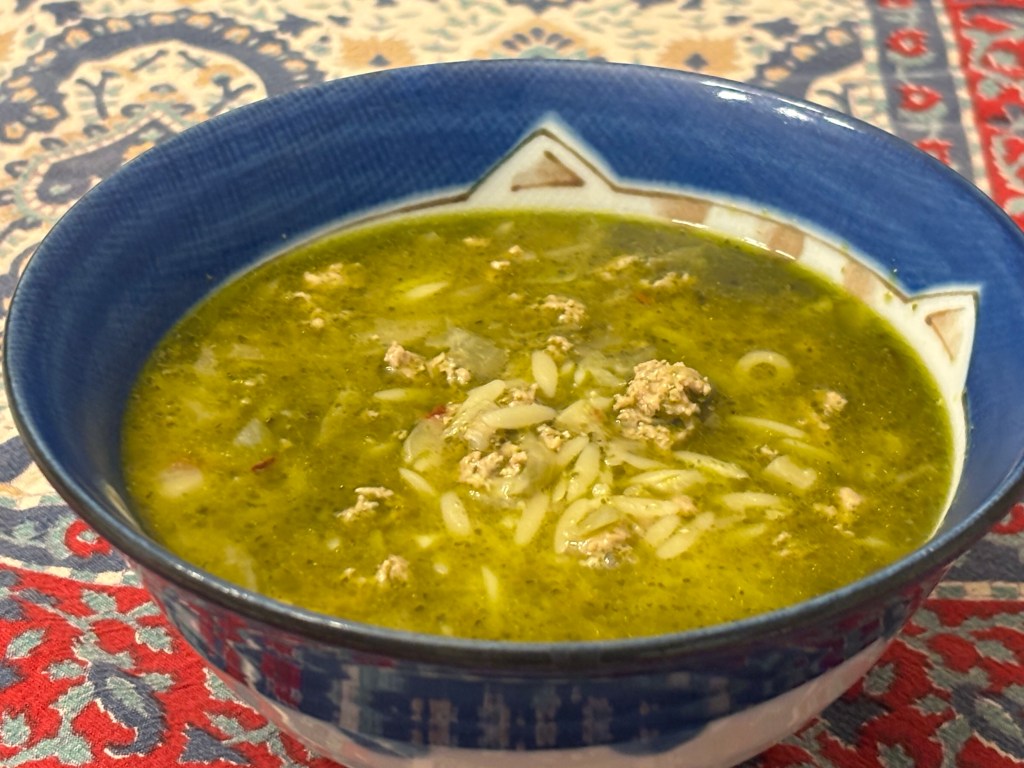
It’s a cold winter day, and we decided to try this ingenious recipe: https://cooking.nytimes.com/recipes/1027654-pasta-pesto-soup-with-turkey-and-spinach?smid=ck-recipe-iOS-share
For the pesto, we used Severino. For the pasta, we used 1/4 cup ditalini (which needed 1 more minute of cooking) and 3/4 cup orzo. We used 1 quart no salt chicken stock. Based on our pantry, we skipped the spinach. The lemon juice was key for acidity. This was simple, quick, and delicious. The next time, we’ll try it with spinach. (Jan. 2026)
-
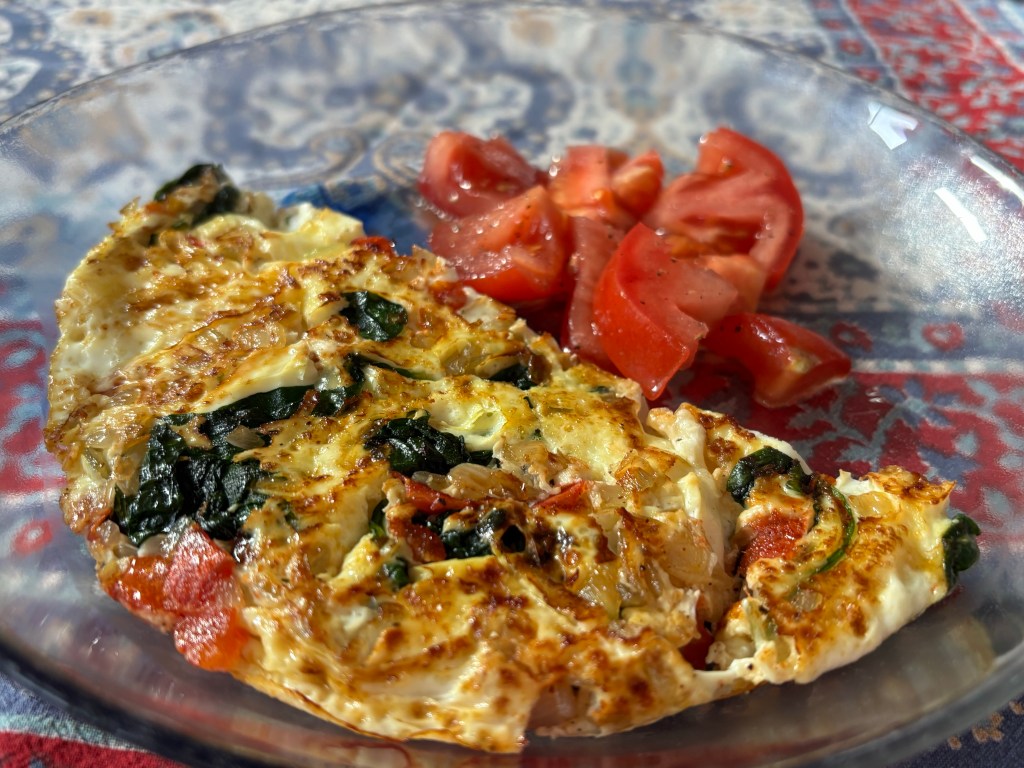
I am a big fan of Pret a Manger’s egg white and spinach frittata. We had a handful of spinach, a vine-ripened tomato, and frozen, shredded parmesan, so we tossed together this dish.
Thanks to the magic of AI, we followed these proportions:
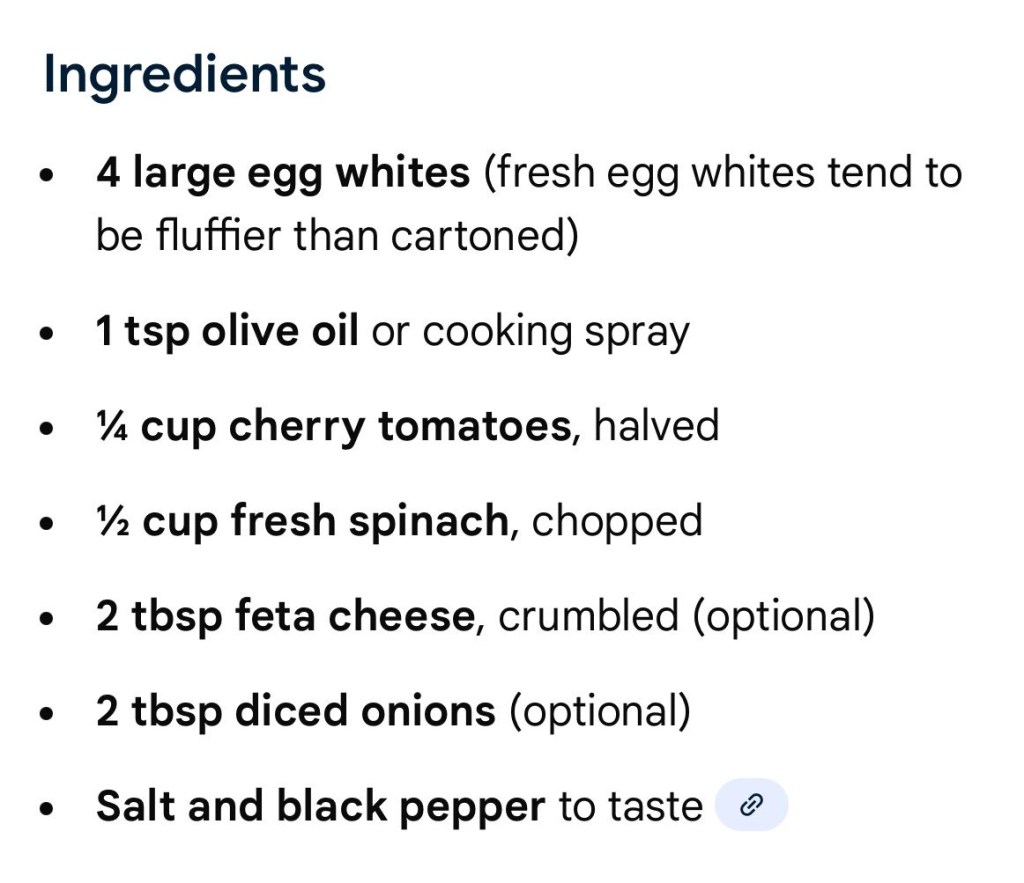
We sauteed 1 shallot in 2 tsp olive oil in a small nonstick pan. When the shallot was browned and fragrant, we added about 1 oz baby spinach and diced tomato (we used half a medium vine-ripened tomato) until wilted. We lightly seasoned with salt and black pepper, then added 6 egg whites. Using a spatula, we gently pulled the omelette edges in, allowing raw egg liquid to fill in the gap. As the egg whites set, we sprinkled 1 Tbsp shredded parmesan overtop. We flipped the omelet (we used a plate), and then served with a simple tomato salad (roughly chopped tomato tossed in quince-pomegranate white balsamic vinegar and olive oil). (Jan. 2026)
-
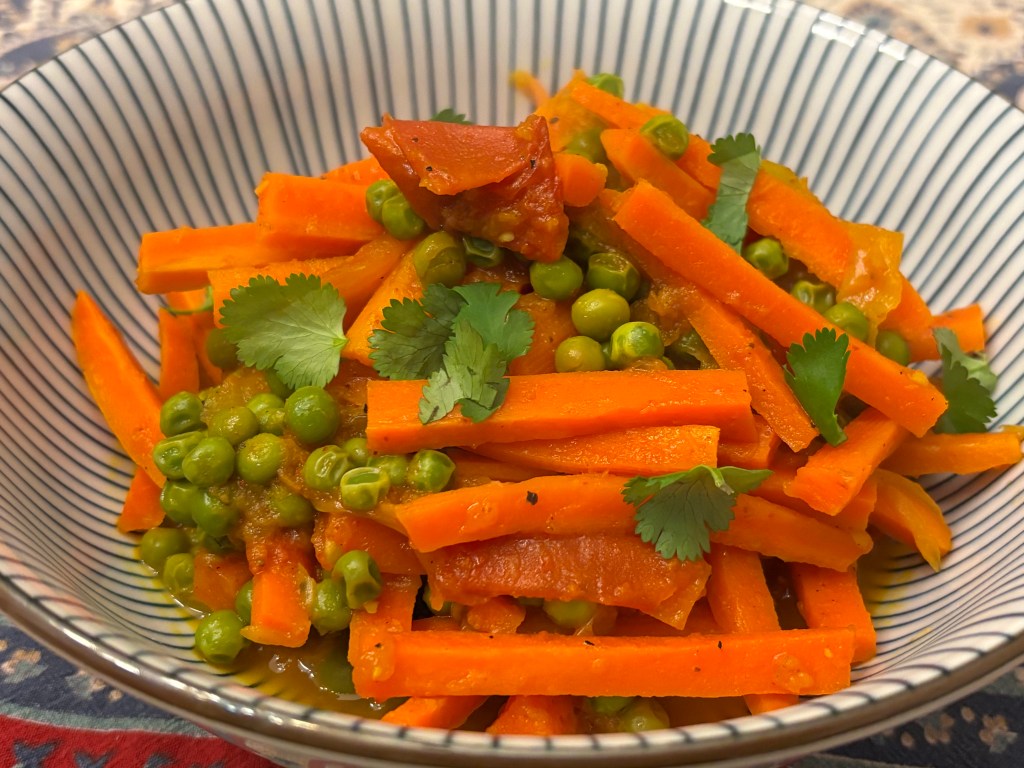
We made this recipe from Healthy Indian Vegetarian Cooking by Shubhra Ramineni. Recipe to come. (Jan. 2026)
-
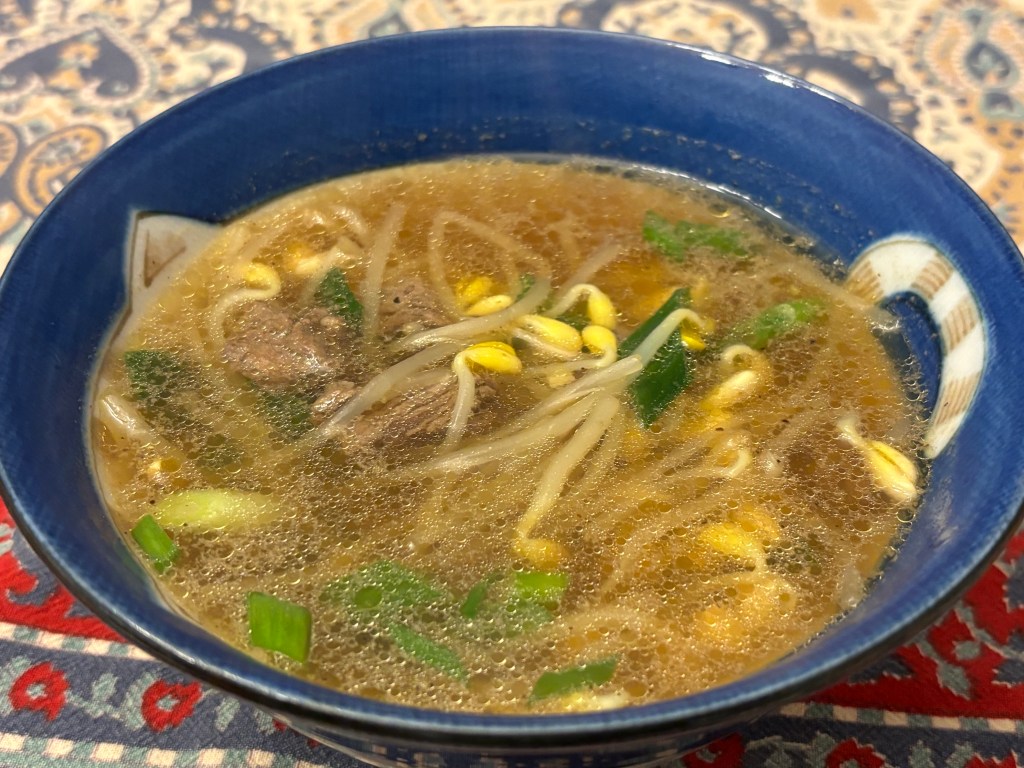
This is a soup from my childhood, and I have been craving it in recent weeks. We followed this recipe: https://www.beyondkimchee.com/beef-and-bean-sprout-soup/
Our modifications: first, we used 1/4 lb center cut ribeye beef (instead of 1 lb beef), but we kept the marinade ingredients and amounts the same (since they also season the broth). We thinly sliced the ribeye along a diagonal, and then cut into bite-sized pieces.
Second, we used 12 oz of soy bean sprouts (instead of 16 oz), and we removed the root from each sprout by hand.
Third, for the dashima we used approx. a 9×6” piece. (We set aside the cooked dashima for another use, such as https://cookingadventures.blog/2022/08/14/chinese-wakame-seaweed-salad/).
Fourth, because we wanted a mild soup, we skipped the Korean ground red pepper.
Fifth, instead of Korean anchovy sauce, we used 1 Tbsp Squid brand fish sauce. We also followed the instructions to season with 1 Tbsp soup soy sauce. We also seasoned to taste with a dash of salt, black pepper, and sugar each for balance. This was satisfying soup. We served it with jasmine rice. (Jan. 2026)
-

We had a craving for extra crispy roasted chick peas, so we tried this version from Cookie + Kate: https://cookieandkate.com/roasted-chickpeas-recipe/ This recipe differs from most other techniques in two ways: first, by oven-roasting the towel-dried chick peas without oil; and second, by leaving the chick peas in the oven after roasting to absorb ambient heat. Only after that does one drizzle with some olive oil, salt, and other seasonings as desired.
Our modifications: first, after placing the towel-dried, completely unseasoned chick peas on a parchment-lined rimmed baking pan, we found that 16 mins at 400 degrees (shaken once) was sufficient for roasting. This is because we placed the pan in the hottest part of our oven (the top rack). Second, once we turned off the oven, we found 5 mins to be sufficient in the ambient heat. We then transferred to a bowl, drizzled with 1 tsp olive oil, and sprinkled with kosher salt. (Jan. 2026)
-

We made this recipe from Maangchi: https://www.maangchi.com/recipe/maeuntang. Like Maangchi, we used 2.5 lb seabass (bronzino), approx. 2 whole fish, each cut into 4-5 crosswise pieces.
Our modifications: first, to manage the spice level, we reduced the Korean coarsely ground red pepper to 1/4 cup (down from 1/2 cup). The next time, we may increase to 1/3 cup.
Second, we used 1.5 lb of daikon, cutting it into 1/2” thick half-moons.
Third, we disagree with the instructions to cook the fish on medium-high; we found that temperature too high, causing the fish to fall apart. To remain intact, we recommend simmering on low-medium and increasing the cooking time. At the end of cooking, we gently transferred approx half of the stew into a Korean earthenware pot, which we then heated before adding the garnish.
Finally, for the garnish we found chrysanthemum greens at Hmart. At first we found the greens too bitter, but they were fine after wilting in the hot stew. They went well with the slices of hot red pepper.
We served this stew straight out of the earthenware pot at the dining table. We enjoy it with cooked jasmine rice. (Jan. 2026)
-
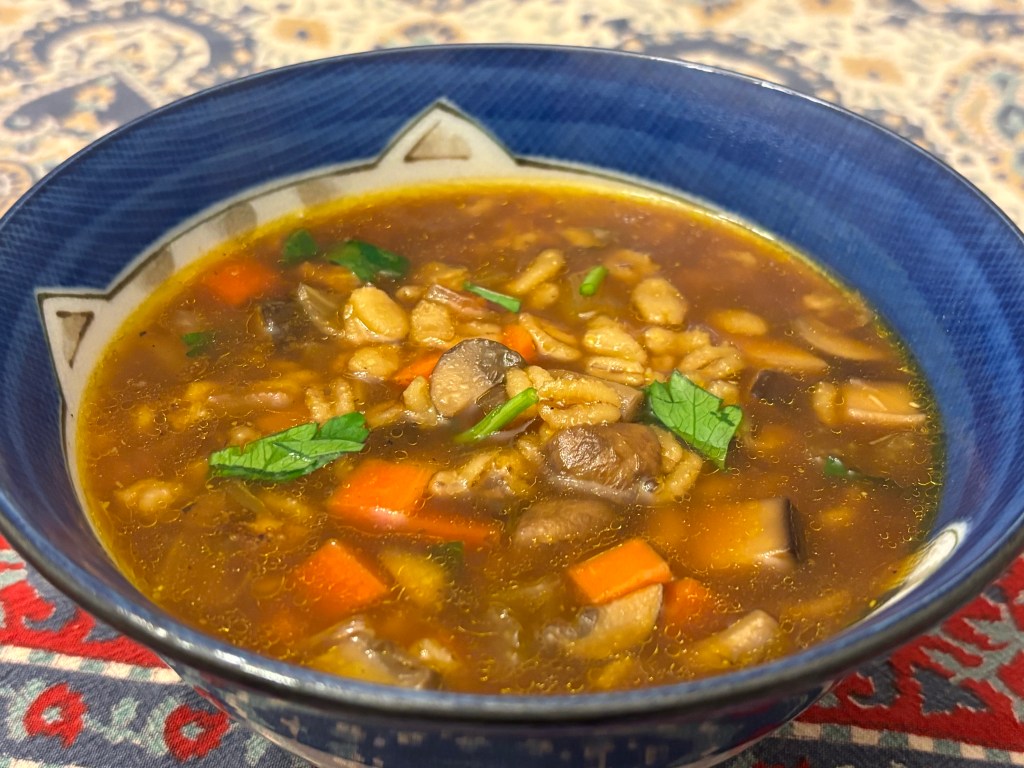
During this cold weather, we craved a hearty, vegetable-heavy soup. We tried this recipe: https://www.sipandfeast.com/mushroom-barley-soup/. This was a tasty, healthy, and satisfying meal.
Our modifications: first, we slightly increased the fresh mushrooms to 1 lb cremini, 4 oz shiitake, and 4 oz oyster mushrooms. We washed them, dried thoroughly with dish towels, removed the stems, and diced the mushroom caps.
Second, we couldn’t find dried wild mushrooms; we used 8 dried shiitakes and reconstituted them in hot water for 30 mins, saving the mushroom liquid (3/4 cup). We thoroughly dried the reconstituted mushrooms, removed the stems, and diced them and added them to the diced fresh mushrooms.
Third, we used 10 cups beef broth, using a combination of 8 cups (2 quarts) no-salt broth and hot liquid (3/4 cups mushroom liquid plus 1 1/4 hot water) mixed with 2 tsp Better Than Bouillon beef broth concentrate. (For this reason, our soup was plant-forward but not vegetarian.)
Fourth, instead of regular rolled barley, we used 1 cup quick-cook barley. This enabled us to reduce the simmering time to approx. 30 mins.
Fifth, in lieu of white or red miso, we used 2 tsp Korean fermented soybean paste (doenjang). When tasting the soup at the end of cooking, we added 1 tsp red wine vinegar for balance (see Note below). (Dec. 2025)
Note: We also added a dash of sugar, but that seemed a mistake in retrospect because it somehow muted the umami from the soybean paste).
-
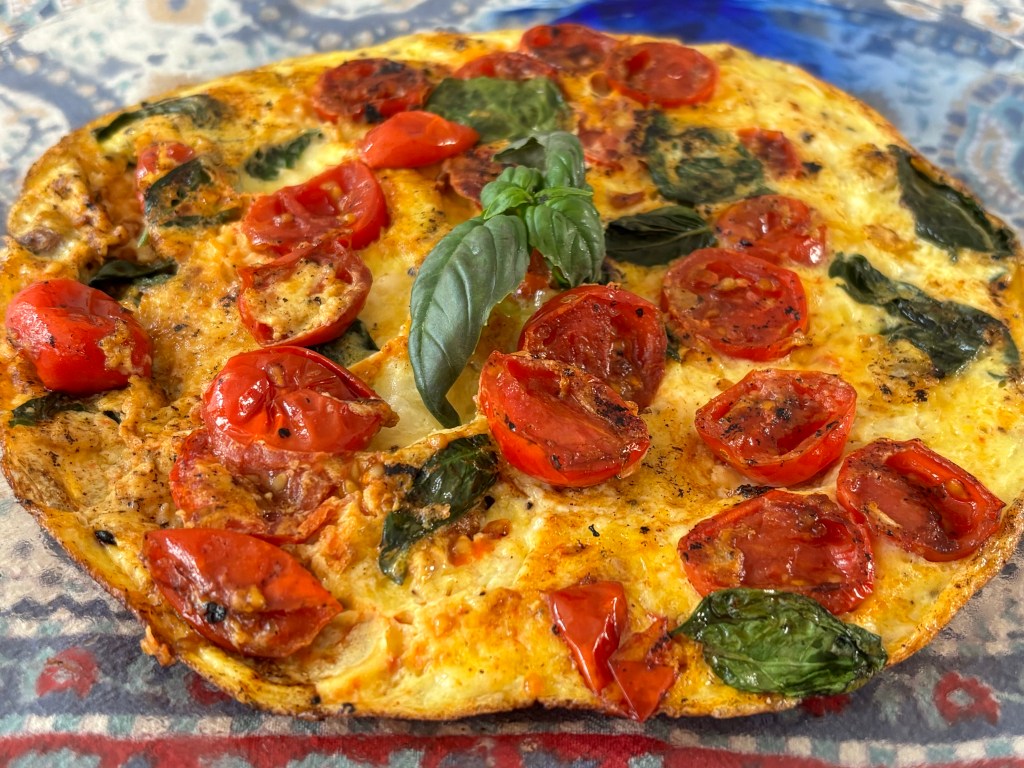
We had cherry tomatoes, fresh basil, and hard cheese on hand, so we tried this recipe: https://memoriediangelina.com/2024/08/08/frittata-al-pomodoro-tomato-frittata/.
Our modifications: first, we halved the recipe (1 garlic clove, 4 eggs, 10 cherry tomatoes, and 2 Tbsp fresh basil). We discarded the garlic clove after browning it (we didn’t see a later use for it in the recipe). We made sure to caramelize the halved cherry tomatoes and reduce their juices. Second, for the cheese we used a mix of shredded Zamarano (Spanish hard cheese) and parmesan cheese.
This was an easy and satisfying breakfast. We served it with toasted slices of ciabatta. (Dec. 2025)
-
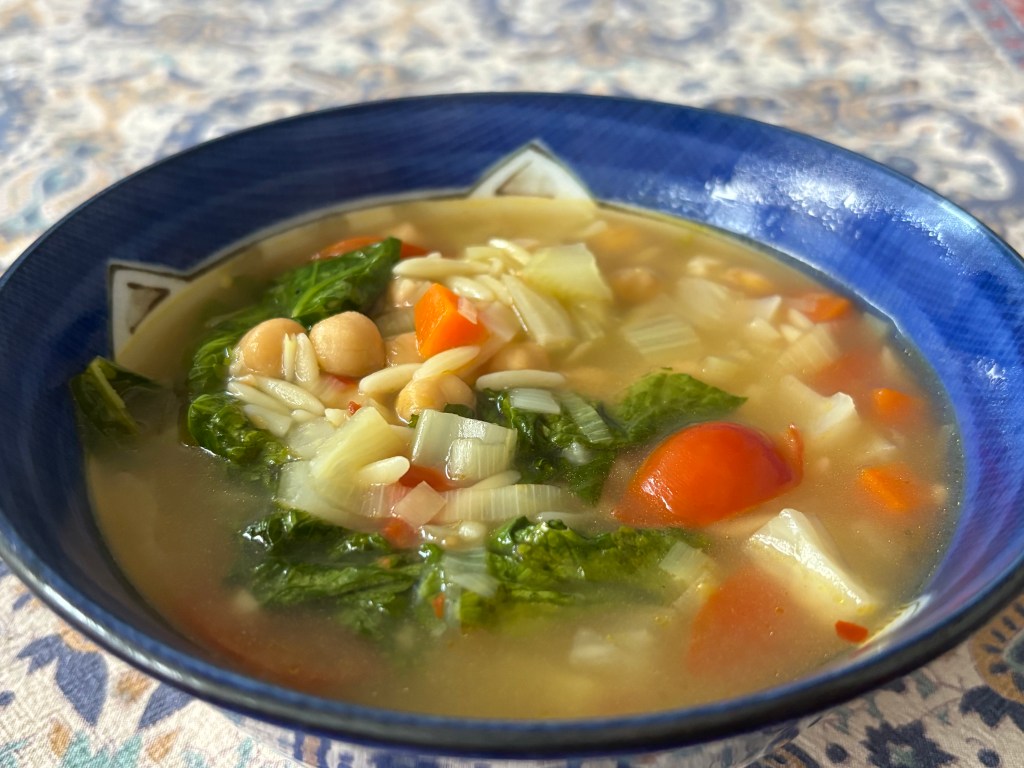
On this chilly day, we craved a healthy, warming soup. We tried this recipe: https://cooking.nytimes.com/recipes/1015767-chickpea-stew-with-orzo-and-mustard-greens?smid=ck-recipe-iOS-share. It was very tasty and satisfying.
Our modifications: first, for the aromatics, we used 1 small fennel bulb, 1 stalk celery, 1 large leek (white part only and in lieu of onion), and two medium carrots.
Second, along with the minced garlic, rosemary, and crushed red pepper, we added 1 large bay leaf. parmesan rind.
Third, we favor brothy soups over stews. Accordingly, we increased the chicken broth to 6 cups (and omitted water). We used a combo of no-salt broth and Better Than Bouillon chicken flavor. At this point, along with the canned chick peas (drained), quartered cherry tomatoes, and orzo, we added 1 parmesan rind for umami.
Fourth, for the greens, we used 1 bunch of mature mustard greens (we missed the note about baby mustard greens). We tore them into bite-sized pieces and added towards the end of cooking. The greens had great flavor, but maintained their crunch. The next time, we will try baby mustard greens, which may become more tender when cooked.
Finally, at the end of cooking, we folded in 2 Tbsp shredded parmesan for depth. This was a delicious soup; the fennel in particular was a nice touch. (Dec. 2025)
-
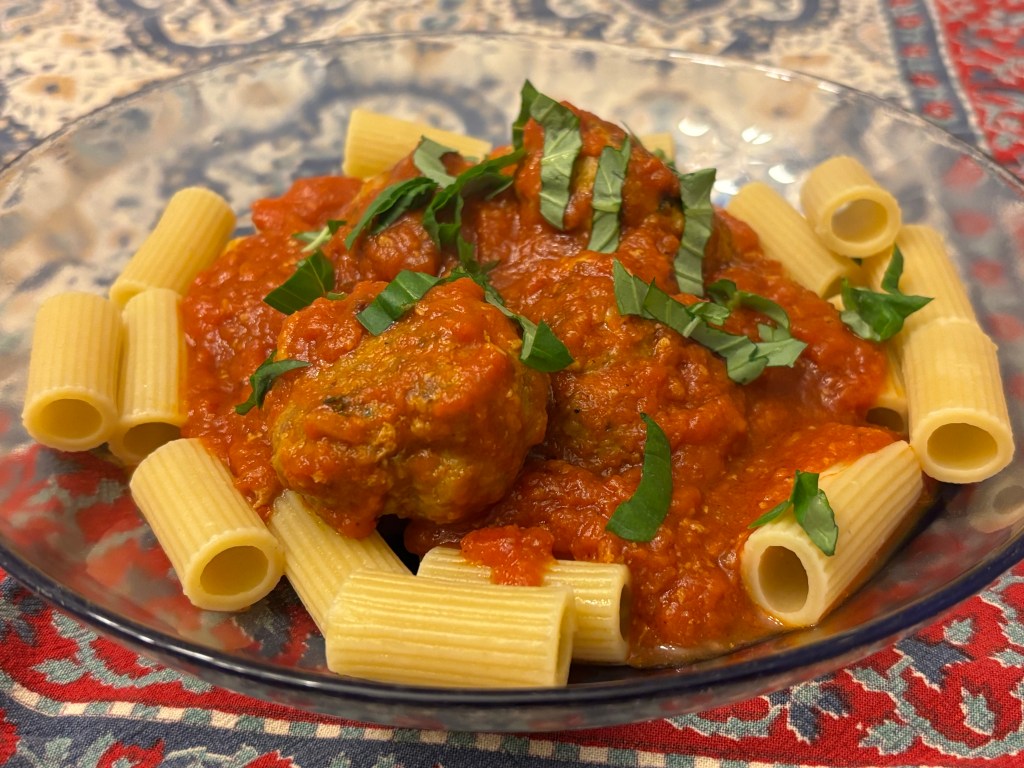
We made these Italian-style turkey meatballs from NYT Cooking: https://cooking.nytimes.com/recipes/1018723-turkey-meatballs-in-tomato-sauce?smid=ck-recipe-iOS-share.
Our modifications: first, we doubled the recipe. In the doubled recipe, we also reduced the salt in the meatball mixture to 2 tsp (from 1 Tbsp).
Second, to manage sodium in the marinara sauce, we combined 32 oz (4 cups) Rao’s marinara sauce with 16 oz no-salt tomato sauce. We poured the sauce mixture into the Ultimate pan. We later balanced out the sauce’s viscosity and flavor profile with 1 Tbsp water, 2 tsp olive oil, 1 tsp sugar, and 1/2 tsp Worchestershire sauce.
Third, consistent with the comments to the NYT Cooking recipe, we tried baking the meatballs instead of pan frying them. How we did it: we preheated the oven to 450, lined three rimmed baking sheets with nonstick foil, and then drizzled 1 tsp canola oil and used a paper towel to distribute the oil on the foil-lined sheet. We then measured out 2 Tbsp of meat mixture per meatball, hand-rolled, and placed on the foil-lined baking sheet. We baked the meatballs for approx. 20 mins, flipping over each meatball midway. (We found that only 1/3 of the meatballs browned at all.) Then we switched the oven to the broiler on Low to brown the tops of the meatballs.
Finally, we placed the meatballs in the marinara / tomato sauce mixture. We then followed the recipe’s instructions to simmer the meatballs, covered, for 20 mins.
We served the meatballs over rigatoni (which we cooked and drained separately) and garnished with julienned basil. (Dec. 2025)
-
Subscribe
Subscribed
Have a WordPress.com account? Log in now.

