-
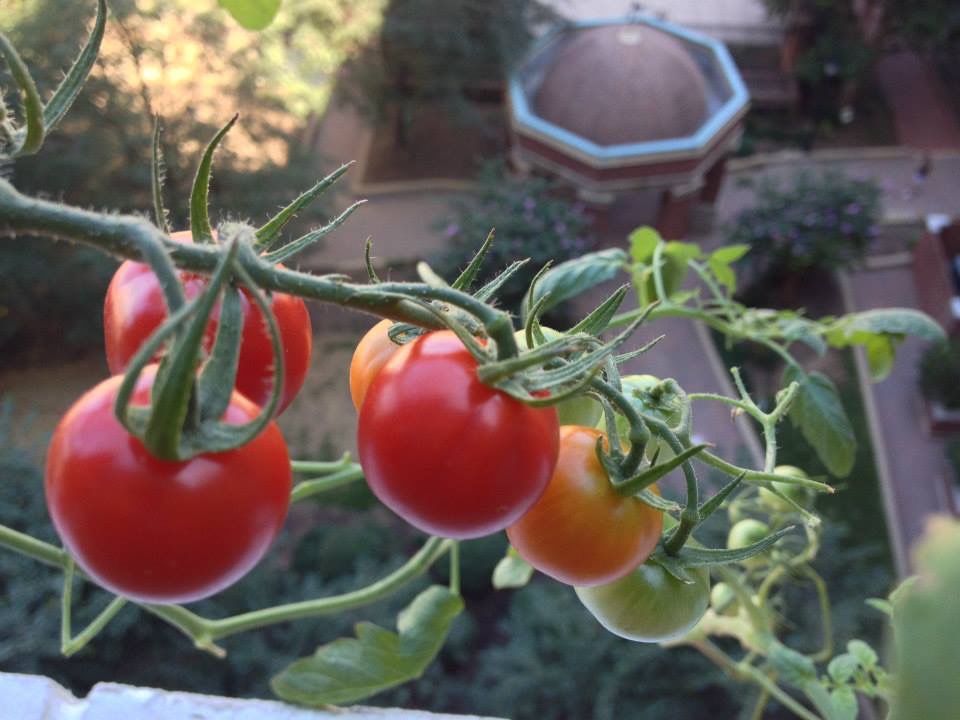
I cook as a hobby, and I maintain this blog primarily to keep track of recipes that my family has enjoyed over the years. I started blogging back in 2015, in response to requests from friends for recipes they had seen me post on Facebook (but that I couldn’t easily catalog). My original blog was on another platform that became less user-friendly over time. I migrated my blog to WordPress earlier this year, and I’ve spent more time than expected reformatting the migrated posts.
This blog is and always will be a work in progress. For example, I currently provide Tags for posts, but I have not coded for Categories. I also generally try to share the recipes themselves in my posts, but in cases where the recipe is not available online, I try to identify the source (e.g., the cookbook title and author) as needed. In some cases, such as where a family has shared their recipe with me but hasn’t authorized me to share it widely, I post a photo of the dish with that proviso.
I recently added a Search widget to this blog. On the desktop version, the Search bar appears prominently on the left hand side. But for some reason, it is hidden on the mobile app. If you’re on your phone, tap on the SHOW tab at the top left of the home page. That will reveal another screen with the Search bar.
I hope you enjoy exploring my blog and find some recipes to try.
-

We tried this recipe for an Asian twist on a classic Middle Eastern staple: https://www.thespruceeats.com/tahini-noodles-4584977 We found this yielded too much sauce for ½ lb cooked pasta. We also tweaked the recipe a bit: we added another ½ tsp honey (for a total of 1 ½ tsp) and used juice from ½ lime instead of lemon. In addition to toasted sesame seeds and scallions, we garnished with fried onion for a textural contrast. (Mar. 2019)
-

We tried this recipe from Fuschia Dunlop: https://www.vegkitchen.com/smoked-tofu-with-celery-and-peanuts/ Our modifications: first, we increased the amounts to 5 oz smoked tofu, 4 celery stalks, and ¼ cup (about 2 oz) peanuts. To destring the celery stalks, we used a serrated vegetable peeler to scrape off 1/8″ of the outer layer of each celery stalk. To roast the raw peanuts, we found 20 mins at 250 degrees insufficient; we then moved the peanuts to a toaster oven for 5 mins at 300 degrees, which resulted in a darker roast but still OK. For seasoning, we used 1 ½ Tbsp chili oil (incl. ½ Tbsp of sediment), 1 tsp toasted sesame oil, 2 tsp sugar, and ½ tsp salt. We liked this dish a lot. (Mar. 2019)
-

We tried this recipe, mainly following the “stew” (as opposed to “soup”) version: https://www.kawalingpinoy.com/picadillo-with-potatoes/ Our modifications: first, based on our pantry, we used 1 lb minced bison, even though the stew version calls for 1.5 lb minced beef. We also reduced the fish sauce to 2 tsp (instead of 1 Tbsp, which is 3 tsp). Second, instead of ½ cup tomato sauce and ½ cup crushed tomatoes, we used 1 ½ cup freshly pureed hothouse tomatoes (almost 3 medium, which yielded 1 ¾ cup total) and 2 Tbsp tomato paste. Third, we used ½ cup beef stock (into which we dissolved the previously mentioned tomato paste). As the stew recipe instructed, we used 2 potatoes, 2 carrots, and 2 Tbsp raisins (we used golden). However, once we added those ingredients, we covered and simmered for another 10 mins. We found the flavor a bit thin and acidic, so we brightened with 1 tsp pomegranate quince white balsamic vinegar. We served this dish with jasmine rice. (Mar. 2019)
-

We tried this recipe by Grace Young, who is well-regarded for healthy Chinese cooking: https://www.epicurious.com/recipes/member/views/grace-youngs-velvet-chicken-with-asparagus-52140001 We used 1 lb chicken cutlets (thinly sliced chicken breast), which we cut into ¼” thick x 2″ wide diagonal slices. As the first step, we marinated the chicken for 30 mins, and towards the end of marinating time, we parboiled the asparagus, which we cut into 2″ diagonal pieces. We found the parboiling of the marinated chicken to be an ingenious shortcut. This was a quick and fairly straightforward meal. (Feb. 2019)
-

In a blender (we use a handheld chopper), roughly chop 1 large onion, 4 garlic cloves, 1 tsp (about ½ inch penny slice) fresh ginger, and 6-8 Thai chili peppers (or 3 medium Korean hot peppers), and set aside. Marinate 2 lbs of chicken (here, skinned chicken thighs cut into large chunks) in 2 Tbsp fish sauce (we reduce to 1 Tbsp), 1 tsp turmeric, and ¾ tsp paprika for 15 mins. Heat a Tbsp neutral oil in a large Dutch oven, then saute the chopped aromatics until fragrant. Add marinated chicken and saute until partially cooked. Add 2×1″ wedges of 2 small (or 1 medium) peeled bottle gourds and saute for a few minutes. Add 2 ½ cups water, bring to a boil, and then reduce to a simmer. Cover and cook until squash is tender (approx. 30 mins). Season to taste with salt as needed (we added ¼ tsp). Serve with jasmine rice. This recipe is from Flavors of Burma by Susan Chan. (Dec. 2014)
Variation: In lieu of bottle gourd, you can substitute 3 medium-large chayotes, peeled and cut into 6 vertical wedges (each chayote cut vertically in half, then cut into three 3×2″ pieces). Chayote emits an astringent sap, so I recommend peeling under running water before slicing the flesh. (June 2019).
-

We made substantial modifications to this recipe to make it almost vegetarian (we used chicken stock): https://www.chinasichuanfood.com/ants-climbing-a-tree/ Our modifications: first, we used 300 mg (1 bundle) Korean sweet potato cellophane noodles (dang myun). Because they are thicker than bean thread noodles, we parboiled the cellophane noodle for 4 mins, drained, rinsed in cold water, and then set aside. Second, instead of minced pork, we used 6 oz smoked pressed tofu (we used Kong Kee brand in a red and white label), patted bone dry, and cut into 1/2″ thick matchsticks. Second, we cut two asparagus stalks into 1″ diagonal slices, parboiled, drained, dried, and then set aside. Third, to make this healthier, we reduced the doubanjiang (pixian sauce) and the soy sauce from 1 Tbsp (3 tsp) to 2 tsp each. In terms of cooking modifications, we first heated the wok on medium-high heat with 1 Tbsp neutral oil, then sautéed the smoked tofu matchsticks until slightly browned and crisp (about 3 mins). We removed the tofu and set it aside, then added 1 tsp oil, heated it, and stirfried the asparagus pieces (about 1 min). We then placed the asparagus in the same bowl as the browned tofu and set that bowl aside. We then added 1 tsp of oil to the wok (on medium heat), then added the 2 tsp pixian sauce, 1 chopped scallion (not shallot, which I think was a typo in the recipe), 1 tsp microplaned ginger, and 2 minced garlic cloves. One minute later, we added 2 tsp soy sauce. Then we quickly added the parboiled, drained cellophane noodles and 2 cups of stock (we used chicken, but you can use water or vegetable stock to make this dish vegetarian). When we added the parboiled cellophane noodle to the chicken stock, we simmered until al dente (about 2 mins). We also tossed in about 1 oz fresh enoki mushrooms at the time we added the noodles. Then at the very end of cooking, we folded in the tofu and asparagus into the noodle mixtures and served the dish. (Feb. 2019) Note: The original recipe calls for bean thread noodles (which are thin and light), but we chose to use cellophane noodles (which are thicker and more substantial) to counterbalance the smoked tofu, which is dense. Cellophane noodles can be frustrating to maneuver in stir fries, but they taste pretty great in this recipe. So in this instance, I felt it was worth the hassle.
Version 1: Based on our pantry, we used 4 long beans (about ½ cup), cut on a 2″ diagonal, and parboiled before we boiled the cellophane noodles. In lieu of enoki mushrooms, we added 2 oz fresh baby spinach leaves. (Aug. 2020) -

I had a craving for a frittata with Asian flavors. We had about 1 cup of leftover cooked jasmine rice, so I experimented as follows: Preheat oven to 400. At the same time, heat 1 Tbsp neutral vegetable oil in a large (10″) cast iron on the stove top on medium heat. Add 1 large diced shallot (about 1/3 cup) and saute until fragrant. Add 1 diced Chinese pork and/or chicken sausage (lap cheong) link, and sauté until slightly crisp. Lightly season with black pepper (you can add salt, but the sausage already is well-salted). Add 1 cup cooked rice (here, jasmine), saute for 1 min, then spread rice-sausage mixture in an even layer in the cast iron pan. Separately, mix 5 eggs and about 2-3 Tbsp milk. Lower the heat to low, then pour the egg mixture gently into the pan so that the rice-sausage mixture is evenly covered. To ensure the egg mixture will brown and not stick to the pan, trace a spatula b/w the edge of the egg mixture and the wall of the pan. Let the mixture cook on low until eggs are set (about 5 mins) then place in the oven to finish cooking (about 5-7 mins). To finish, place under the broiler (set on high) to brown the top. Just before serving, drizzle the frittata with 1 Tbsp toasted sesame oil and garnish with cilantro or scallion greens. (Feb. 2019)
-

We had leftover roasted shishito peppers, we tried this recipe: https://www.seriouseats.com/recipes/2014/09/menemen-turkish-style-scrambled-eggs-tomatoes-chilies-recipe.html Our modifications: first, we used ¼ tsp Aleppo pepper instead of ½ tsp hot paprika. Second, we sauteed the onion, Aleppo pepper, and oregano in 2 Tbsp olive oil, and a few mins later added ¾ chopped roasted shishito peppers (which had been roasted in oil). Third, for ½ cup tomato, we diced 2 small-medium vine-ripened tomatoes. Finally, we cooked the eggs as we would scrambled eggs, and until they were fully cooked. We served this dish with hummus and pita bread. (Feb. 2019)
-

We tried this recipe, well-seasoned with cinnamon stick, allspice berries, and bay leaves: https://www.olivetomato.com/greek-chicken-cooked-in-tomato-kotopoulo-kokkinisto/ We used five skinless, boneless chicken thighs (about 1.5 lb). Our modifications: first, for 16-20 oz chopped tomatoes, we used one 14.5 oz can plus two chopped tomatoes. We also increased the garlic from 2 cloves to 5 cloves. Second, we used 1/3 unsalted chicken stock instead of water. Third, for the last 8 mins of cooking, we let it simmer uncovered to reduce the sauce a bit. At the end of cooking, we added 1/8 tsp Aleppo pepper and 1 tsp Gravenstein apple white balsamic vinegar for brightness and balance. We served this with lemon-dill rice, recipe here: http://piglettedc.tumblr.com/post/182669828956/greek-style-lemon-dill-rice-we-tried-this (Feb. 2019)
-

We tried this recipe: https://www.geniuskitchen.com/recipe/lemon-dill-rice-250959 We used 1 cup jasmine rice, rinsed and drained to remove excess starch. We used juice from ½ a lemon but zest from the whole lemon. We added fresh dill (about ¼ cup chopped from the freezer), plus an additional 1 Tbsp for garnish. We also added ½ of the lemon zest to the uncooked rice, then garnished with the remaining ½ of the zest. The directions were vague as to cooking time, so we covered and simmered for 15 mins on low heat, then turned off the heat lightly fluffed the rice, covered, and let sit for another 5-10 mins. We liked the flavor of this recipe but found it too moist at first; by leaving the covered pan on the turned-off burner, the rice dried to a good texture. (Feb. 2019)
-
Subscribe
Subscribed
Have a WordPress.com account? Log in now.

