-
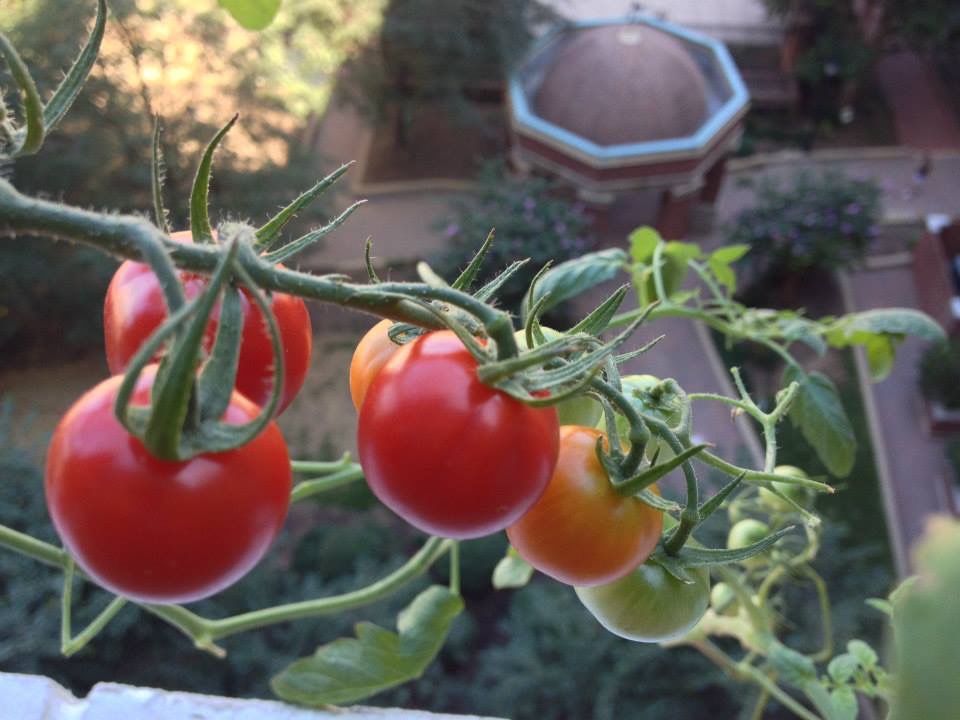
I cook as a hobby, and I maintain this blog primarily to keep track of recipes that my family has enjoyed over the years. I started blogging back in 2015, in response to requests from friends for recipes they had seen me post on Facebook (but that I couldn’t easily catalog). My original blog was on another platform that became less user-friendly over time. I migrated my blog to WordPress earlier this year, and I’ve spent more time than expected reformatting the migrated posts.
This blog is and always will be a work in progress. For example, I currently provide Tags for posts, but I have not coded for Categories. I also generally try to share the recipes themselves in my posts, but in cases where the recipe is not available online, I try to identify the source (e.g., the cookbook title and author) as needed. In some cases, such as where a family has shared their recipe with me but hasn’t authorized me to share it widely, I post a photo of the dish with that proviso.
I recently added a Search widget to this blog. On the desktop version, the Search bar appears prominently on the left hand side. But for some reason, it is hidden on the mobile app. If you’re on your phone, tap on the SHOW tab at the top left of the home page. That will reveal another screen with the Search bar.
I hope you enjoy exploring my blog and find some recipes to try.
-

We tried this recipe, with some modifications: https://cooking.nytimes.com/recipes/1014138-vegetable-hash-with-poached-egg. We halved the dish. For the vegetables, we used 1 large shallot (instead of onion), 4 multicolored carrots, 2 celery stalks, and 5 shishito peppers (red and green), for about 2 cups total veggies. We added the diced shishitos a few mins after the heartier vegetables. We reduced the cumin, paprika, and ketchup by half. We also fried the eggs instead of poaching them. (Aug. 2018)
-

We tried this no-bake, marshmallow-free recipe: https://amindfullmom.com/chocolate-peanut-butter-krispie-treats/ We used 4 cups Rice Krispies, omitted the added salt, and reduced the amount of chocolate chips from 2 cups to 1.5 cups. We melted the chocolate chips in a small microwave-proof glass mixing bowl, at four or five 30 second microwave intervals, stirring well at each break; at a certain point, the ambient heat from the glass bowl was enough to melt the remainder. (Aug. 2018)
-

We tried this recipe: https://www.vietworldkitchen.com/blog/2014/07/thai-chicken-with-basil-recipe.html For the Thai dark soy, we used Chinese dark soy plus 1 tsp sugar. We skipped the fresh thai chilies and used half of a fresh cayenne instead. To reduce sodium, we increased the amount of minced chicken from 10 to 16 oz (1 lb) without changing the amount of fish sauce and dark soy (but see Note below). We used a mix of Thai holy and purple basil, and we also added 5 oz drained and diced water chestnuts. We added 1 additional tsp sugar to taste. We garnished with a fried egg, mixing the runny yolk into the dish before serving. (Aug. 2018)
Note: We still found this dish salty. The next time, we will reduce the fish sauce from 2 Tbsp to 1 Tbsp.
Source: Andrea Nguyen, author and teacher, Vietworldkitchen.com.
-
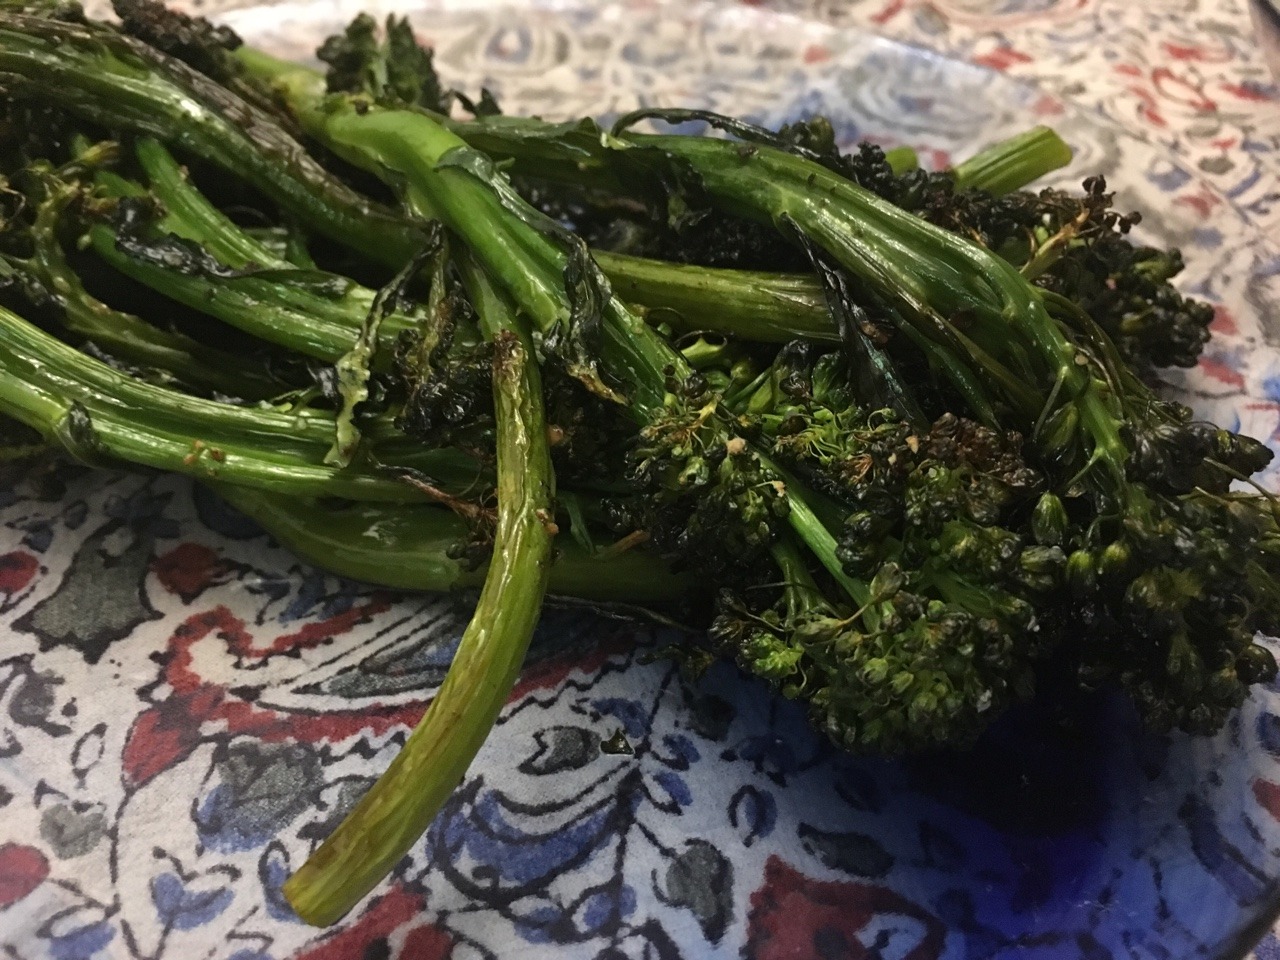
Preheat oven to 425. Line a rimmed baking sheet with foil, then lightly coat the foil surface with canola oil (I often use an oil spray for even coating. Wash, dry, and trim broccolini (cut vertically as needed for even cooking). Lightly toss the broccolini in 1-2 tsp canola oil, then spread in a single layer on the foil-lined baking sheet. Sprinkle lightly with salt and black pepper. Place in oven and let roast at 425 until browned (about 10-15 mins). You can toss midway or leave it alone (so that the char is only on one side). (Aug. 2018)
-
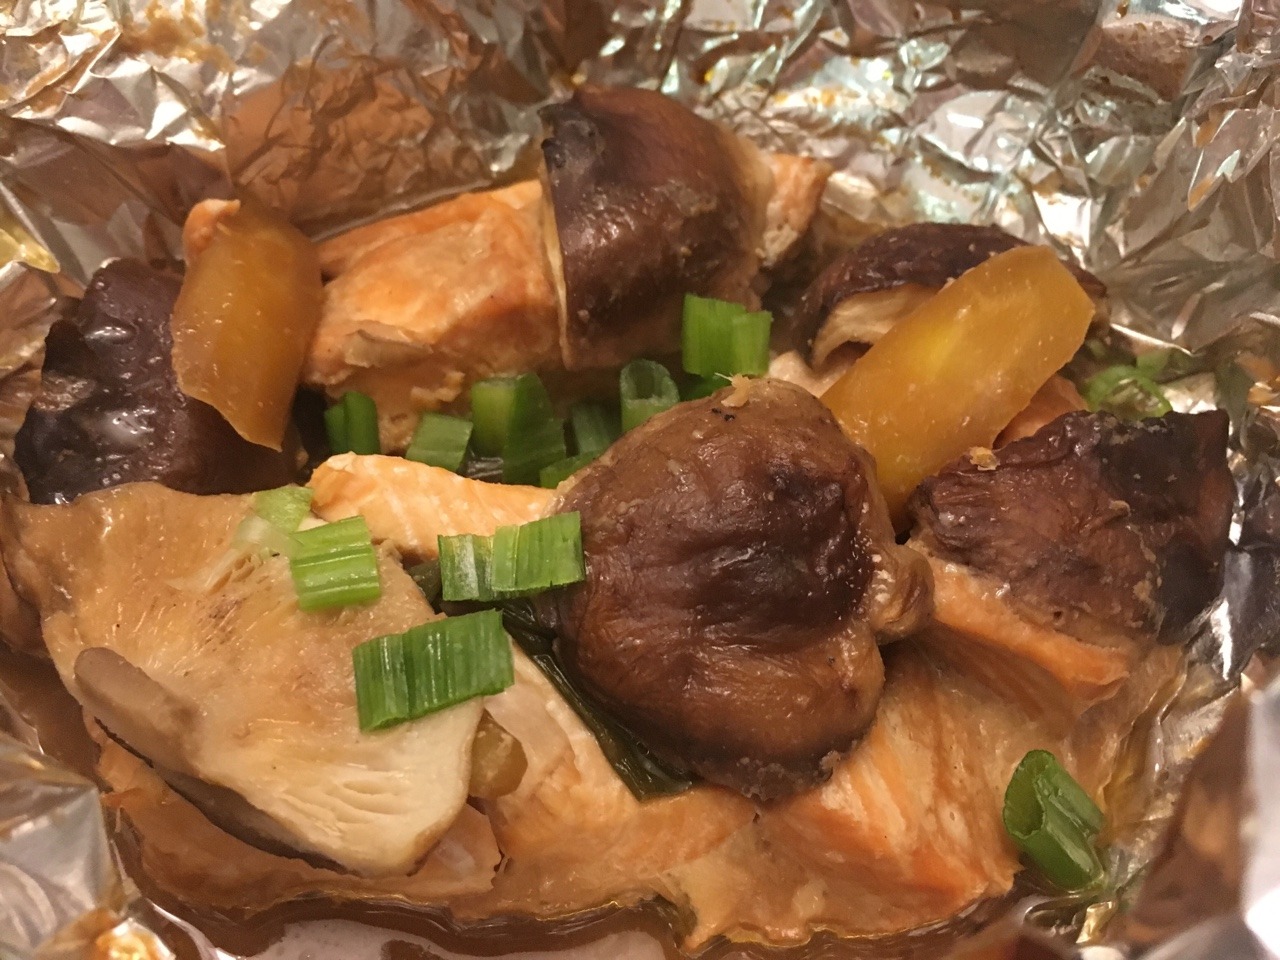
Inspired by this Saveur recipe (https://www.saveur.com/salmon-scallion-mushroom-foil-yaki-recipe), we made a foil pouch yaki using 1 lb (16 oz) skinless salmon filet (cut into 2×1″ chunks – about 16 pieces), 3.5 oz fresh shiitakes (small whole or large halved, stems removed), 2 carrots (cut along a ½” diagonal penny slice), and 2 scallions (cut into 2-3″ straws). We followed that recipes’ basic instructions, but we made a white miso sauce instead as follows: 2 Tbsp each soy sauce and sake, 1 Tbsp white miso, whisked together, plus 2 Tbsp softened unsalted butter (divided in two) set to the side (see Note below). We also made 2 foil packets. We assembled the foil packets as follows: first, we placed each doubled-up sheet in its own bowl (we used a fairly wide-mouthed Japanese stoneware bowl). Second, we placed the scallions, carrots, salmon chunks, and shiitakes in the packet; poured the soy-miso-sake mixture (½ of the sauce in each packet). We topped with 1 Tbsp each of the previously softened butter, and then wrapped the foil edges as directed. Then we placed each sealed packet in a quarter pan. We baked the packets at 450 for 30 mins. This recipe was the closest we came to a delicious salmon yaki we had in Aruba 5 years ago. We served the salmon packets with oven-roasted broccolini, which we roasted at 450 for the last 12 mins of the yaki baking. (Aug. 2018) Note: We based the white miso sauce on this mushroom yaki recipe: http://piglettedc.tumblr.com/post/174131187321/japanese-mixed-mushroom-yaki-in-foil-pockets-we
-
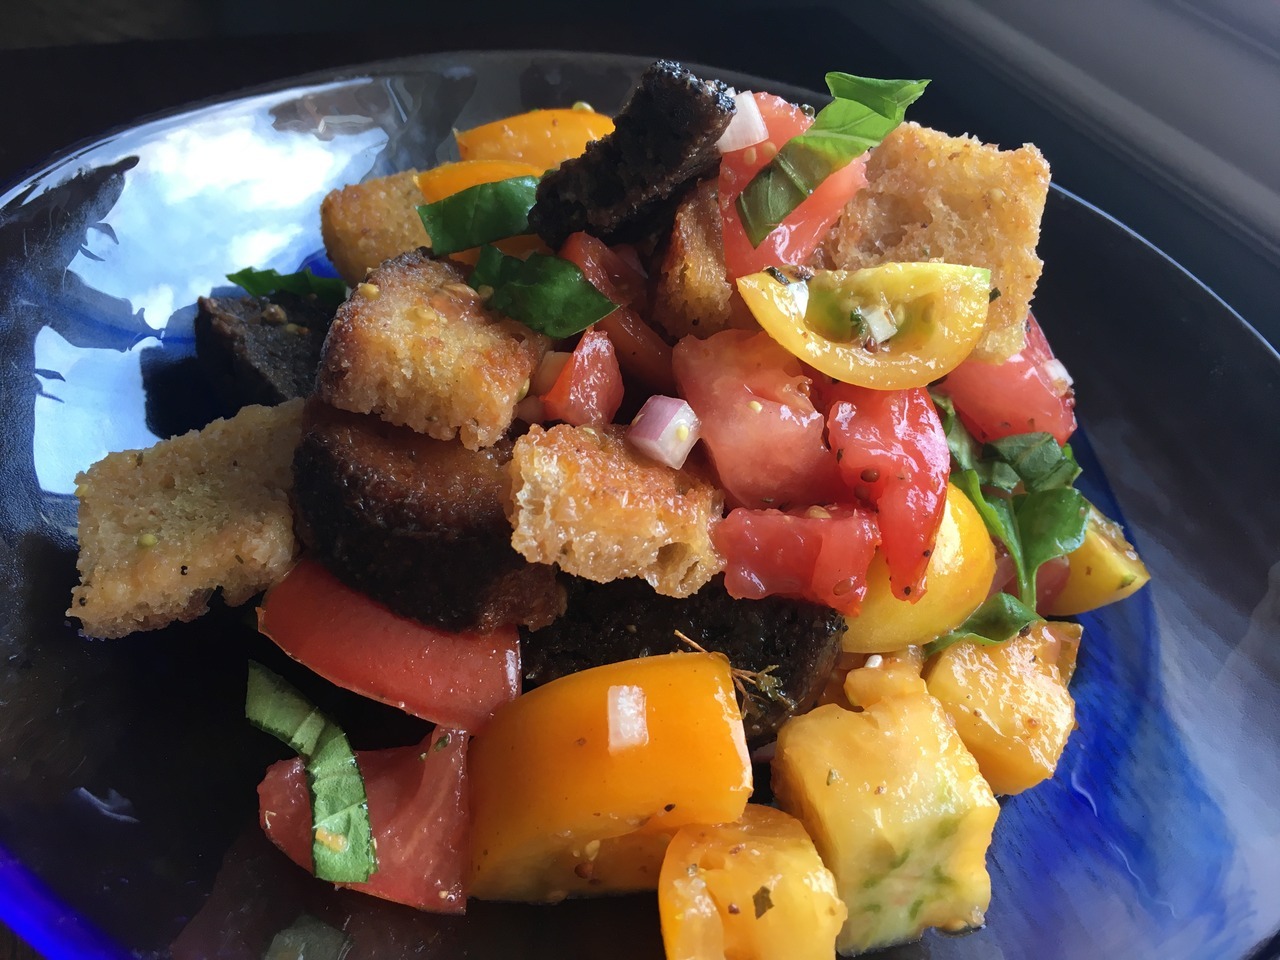
Somehow the original text from my 2018 Tumblr blogpost disappeared, so this is an attempt to re-create the post. I’m almost positive we followed this recipe: https://www.seriouseats.com/classic-panzanella-salad-recipe (Aug. 2018, reposted Aug. 2022)
-
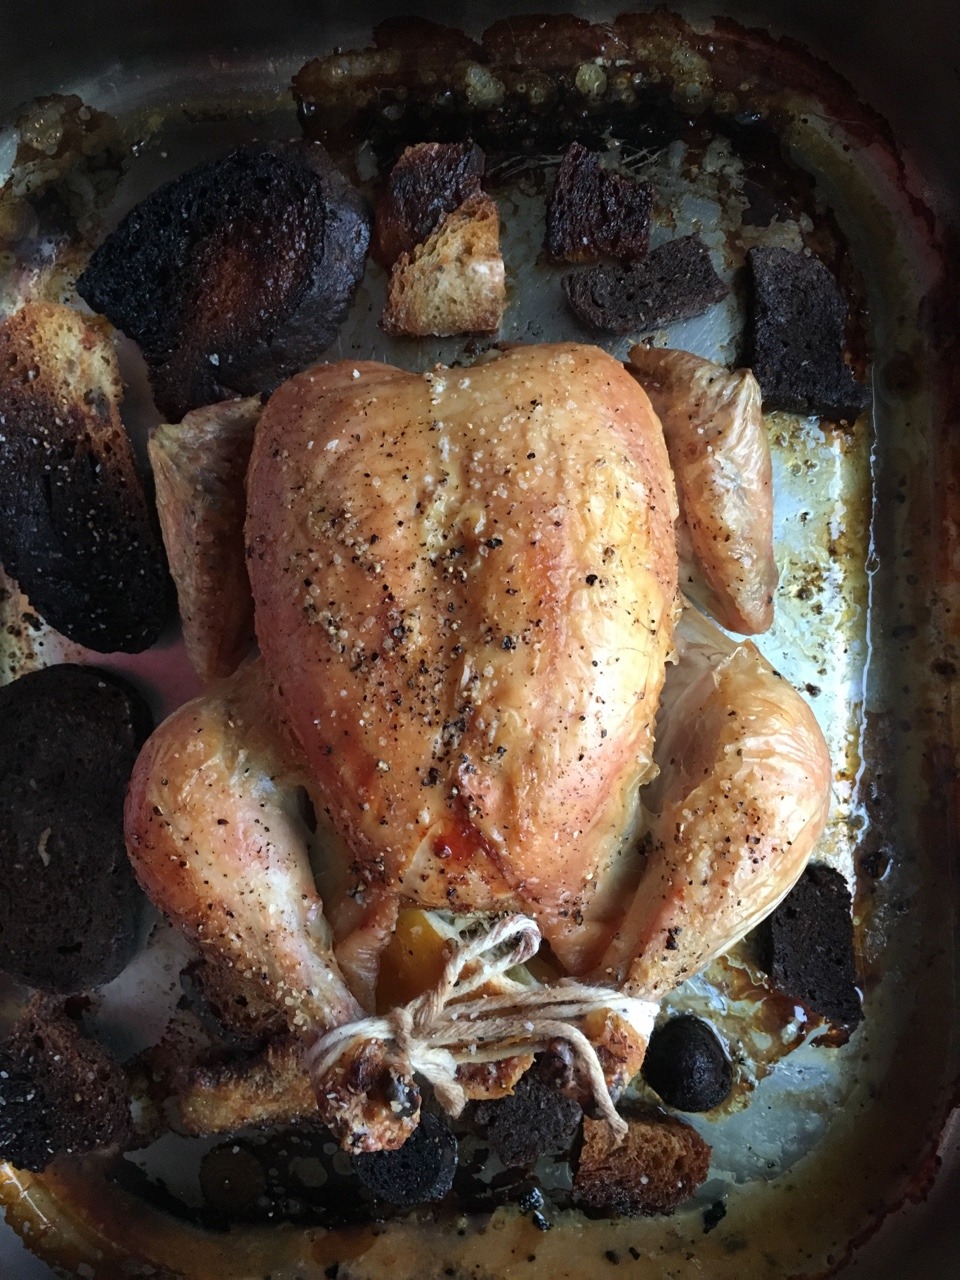
We tried this NYT recipe: https://cooking.nytimes.com/recipes/1012437-garlic-and-thyme-roasted-chicken-with-crispy-drippings-croutons
We used three types of sliced Whole Foods artisalal bread (which we bought in ½ and ¼ loaves): pain de campagne, olive, and pumpernickel. We made the fresh bread stale by following this recipe: http://piglettedc.tumblr.com/post/176915166141/quick-method-for-making-bread-stale-we-needed To line the bottom of our roasting pan, we needed about ¾ of an entire loaf. We used our sturdy, heavy All-Clad roasting pan but found that almost all pieces of bread turned to carbon at 425. It was very disappointing. We were able to salvage about 1/3 of the bread from the roasting pan. We may try this at 375 the next time. To ensure the chicken was fully cooked, after roasting for 1 hour 15 mins, we turned off the heat, removed the burnt bread, and then let sit in the oven’s residual heat for about 20 mins. (Aug. 2018) -
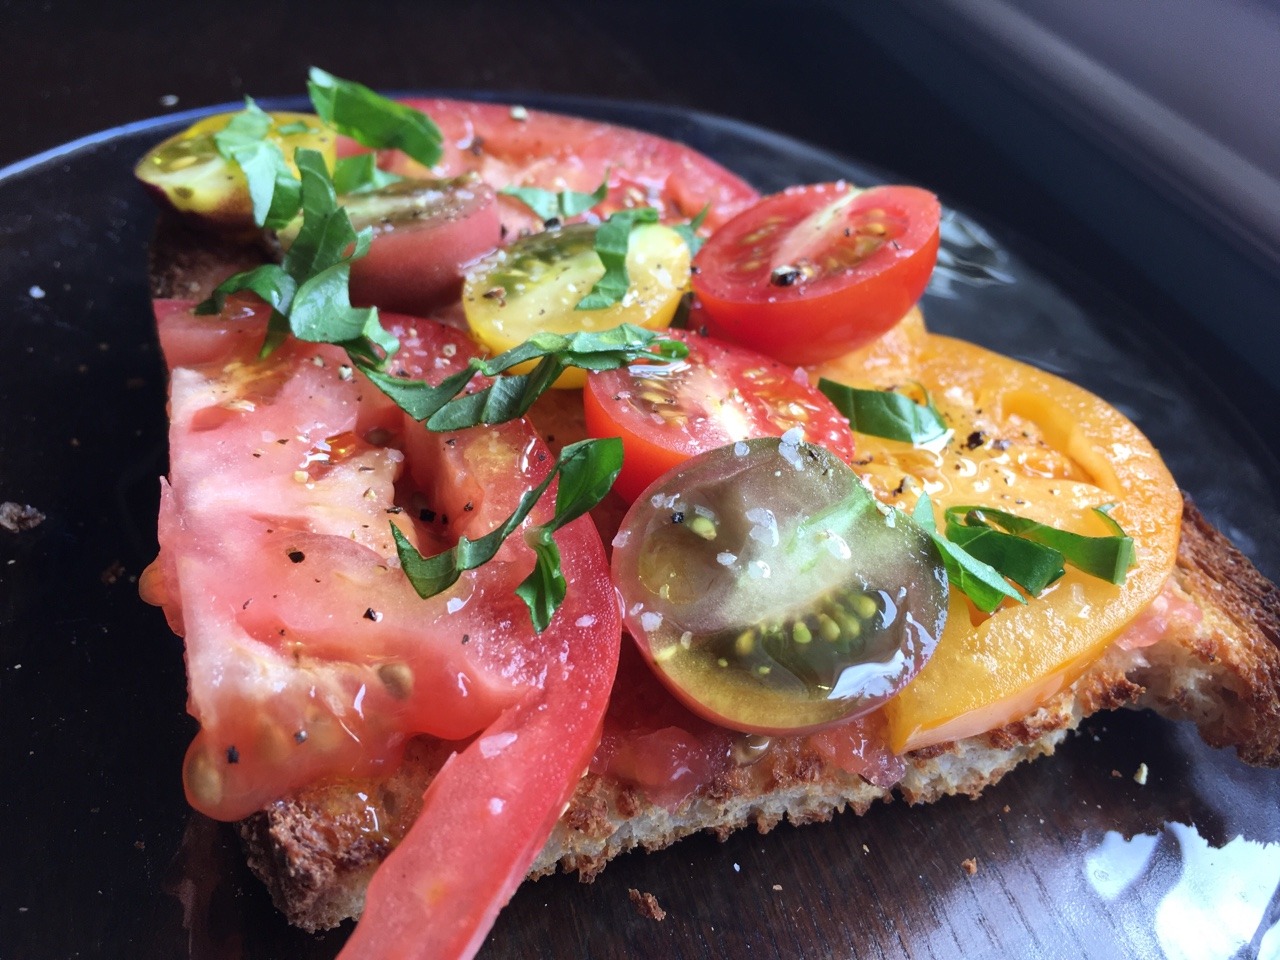
For some reason, the text of my 2018 original Tumblr post disappeared. I know that we made this recipe: https://cooking.nytimes.com/recipes/1019423-pan-con-tomate?smid=ck-recipe-iOS-share. It was easy, refreshing, and tasty. I recommend eating quickly before the bread gets soggy. (Aug. 2018, re-posted Aug. 2022)
-
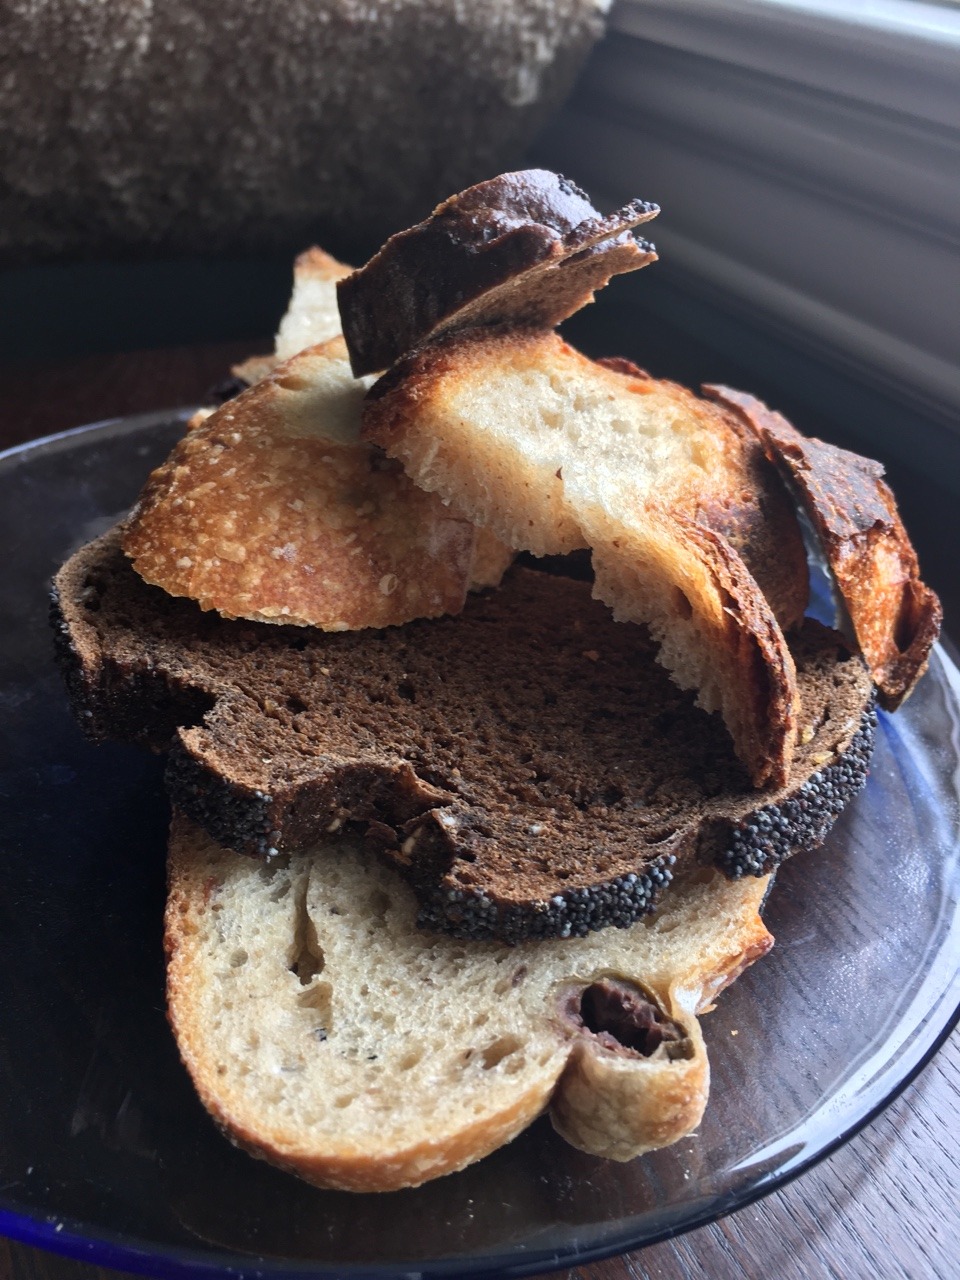
We needed sliced stale bread for a recipe, but we had only fresh bread. We prepared as follows: line a baking sheet with foil, then place a baking rack on the foil. Place a variety of sliced artisanal bread (we used 3 types of Whole Foods bread: pain de campagne, olive, and pumpernickel, each presliced into ½ inch thick slices) on the rack. Bake in oven on low heat. We already had the oven on at 400 for a prior recipe. We turned off the oven and immediately placed the bread inside, allowing it to dry out in the oven’s ambient heat. About 30 mins later, we turned over the slices and kept in the still-warm oven for 3 hours. By then, the slices had dried out and felt surprisingly stale. (Aug. 2018)
-
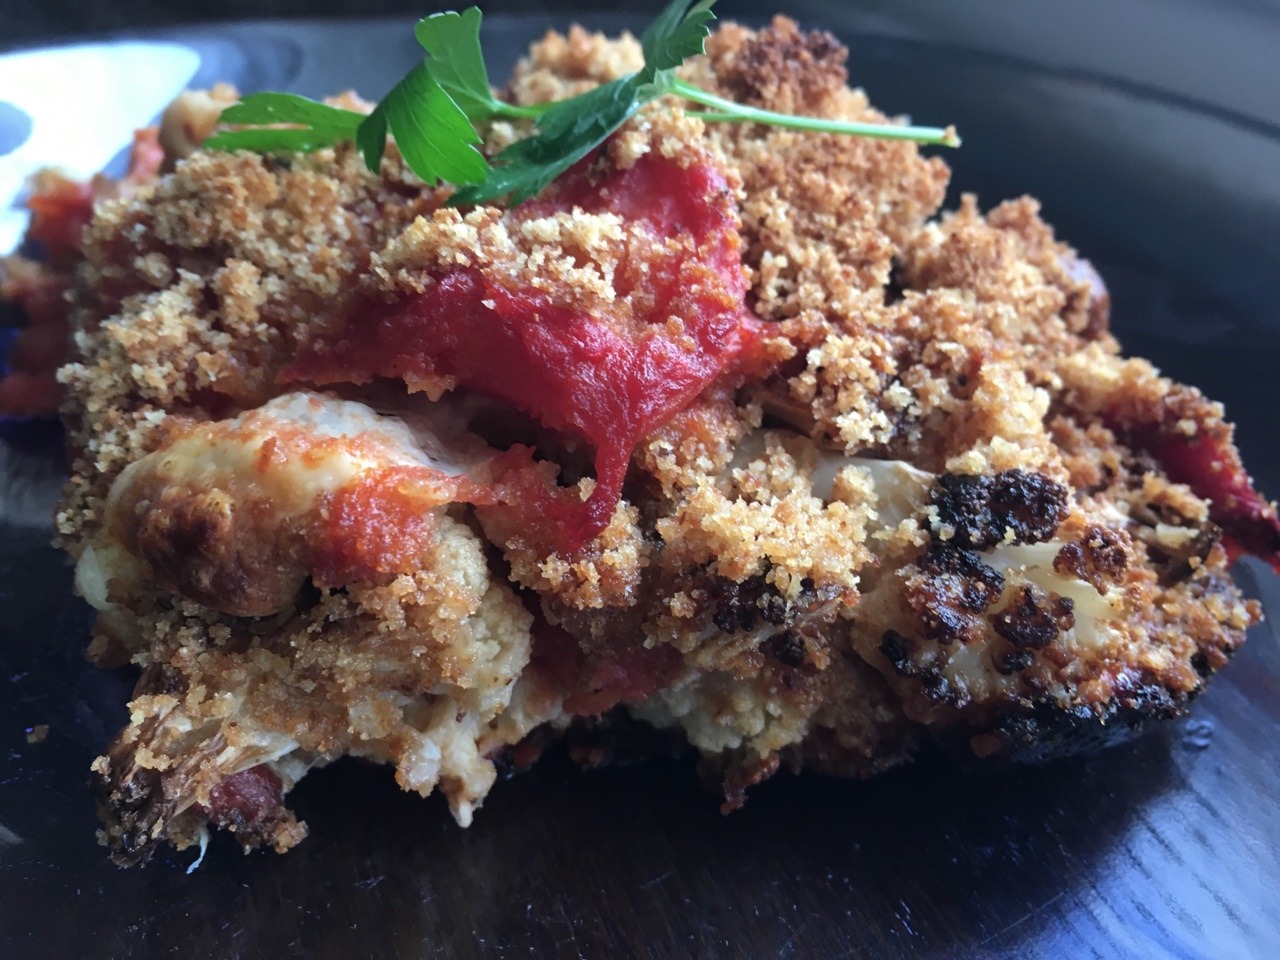
We tried this NYT recipe, with modifications:
https://cooking.nytimes.com/recipes/1017170-cauliflower-parmesanFirst, instead of dredging the cauliflower in egg and breadcrumbs and deep frying it, we oven-roasted the cauliflower florets (tossed in a little olive oil and sprinkled with a little salt and pepper) at 425 for 30 mins, tossing midway. Second, to mimic the breading, we lightly toasted 2 cups (not 3) plain breadcrumbs in some olive oil (about 3-4 Tbsp) in a teflon frying pan. Third, we reduced the amount of parmesan to ½ cup (from 1 cup). Finally, when assembling the casserole, we layered in this order: a) a little sauce on the bottom of the casserole dish; b) a sprinkle of toasted breadcrumbs to absorb some of the liquid from the sauce; c) ½ of the parmesan; d) half the cauliflower; e) 1/3 of the remaining breadcrumbs; and f) ½ the handtorn mozzarella. In the second round, we increased a) to 1/3 the remaining sauce and then continued b) through f). At the very end, after adding the final layer of sauce, we sprinkled the last 1/3 of the breadcrumbs and skipped the parmesan. (Aug. 2018)
-
Subscribe
Subscribed
Have a WordPress.com account? Log in now.

